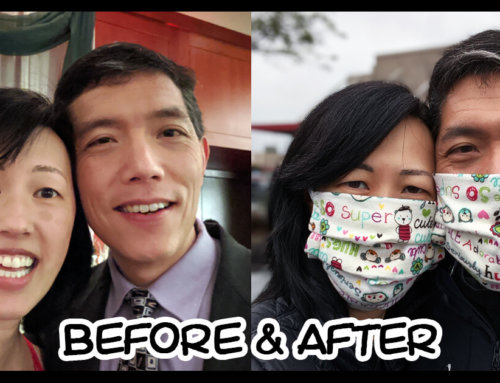
Homemade Face Masks for Conoravirus
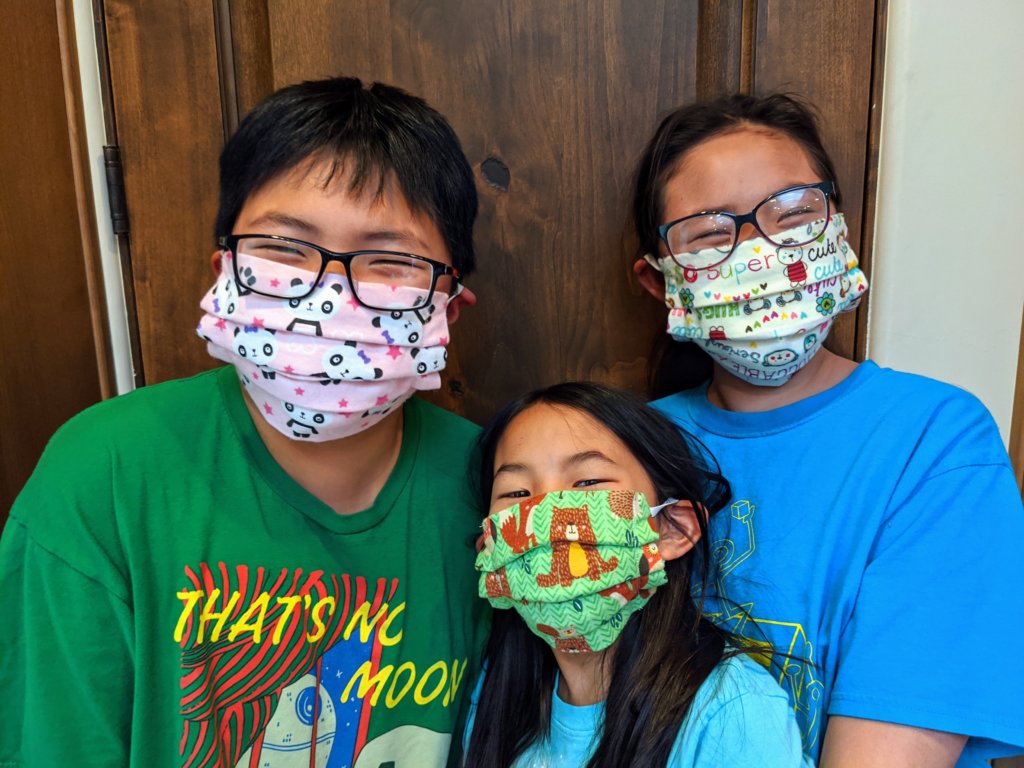
The CDC recommends that everyone wear a mask as they go about their lives during the Coronavirus. Our family didn’t buy any masks so that medical professionals could have them, so when the order came down, we were caught off guard. Professions N95 masks are best, but homemade masks are shown to be more effective than not having one.
Tight woven fabrics work best, like quilters cotton. Unable to buy materials, I used some cotton flannel we had left over from making the girls dresses. While this is not as good as N95, the thick cotton will help filter out half or more of potential virus particles. The bonus is that these are easy to wash and dry with the rest of your laundry.
I started with the mask instructions on Sarah Maker, but made some modifications after sewing half a dozen masks which make it a bit easier to sew and the masks a bit more durable. I made the pattern a bit longer so that the pleats were easier to sew with the thicker fabric.
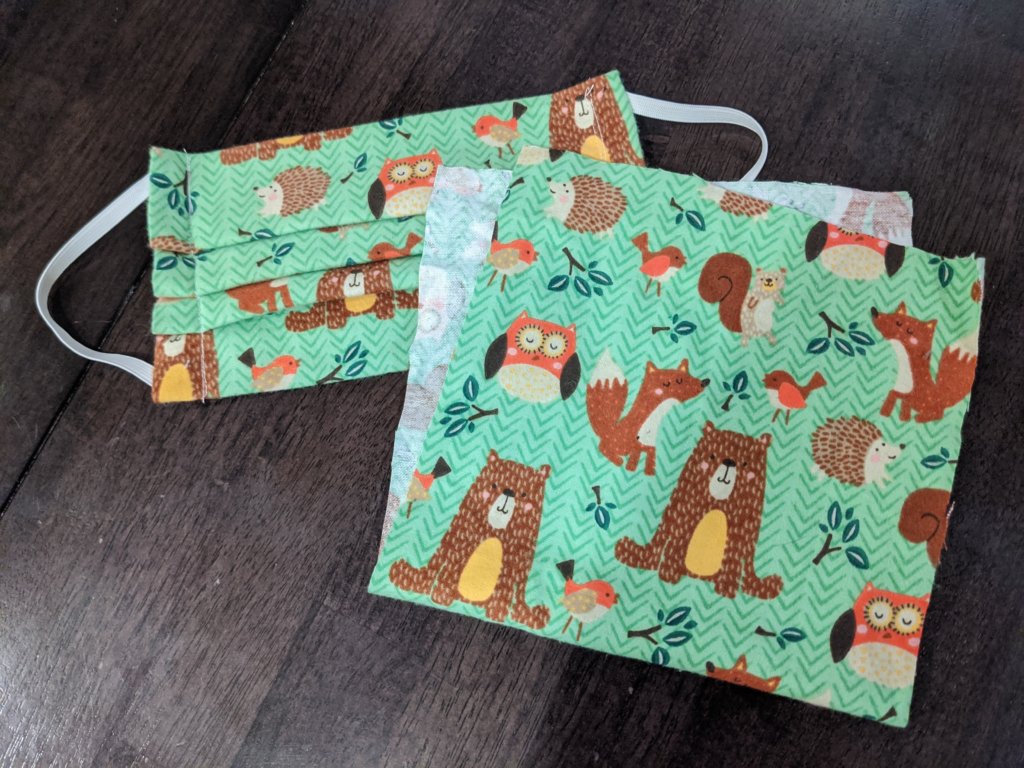
Cut out a piece of cloth the the images lengthwise
Picking a Cloth
A tight quilter’s cotton helps filter the most particles, so does a thicker flannel. As a rule of thumb, thicker fabric versus a thinner one is usually better. If you can see through a fabric, it is probably not a strong enough weave. Note that these are not replacements for N95 masks which filter 95% of particles, but studies have shown that they are better than not wearing a mask and can filter more than half of particles. It also protects others from you should you be sick.
Materials
- Cotton cloth
- 1/4″ wide elastic or cording
- Sewing machine
- Iron
Cloth Sizing: Cut a piece of cotton cloth of this size. Note that the pattern (if you have one), should face up and down on the long side.
- Adult / Large – 9″ x 20″
- Adult / Medium – 8.5″ x 17″
- Small / Child – 6.5″ x 15″
Elastic: 1/4″ sewing elastic
- Adult / Large – 7.5″
- Adult / Medium – 7″
- Small / Child – 6″
Assembling
Sew the top edges together with a 5/8″ seam. Leave a 4″ opening in the middle to turn this over.
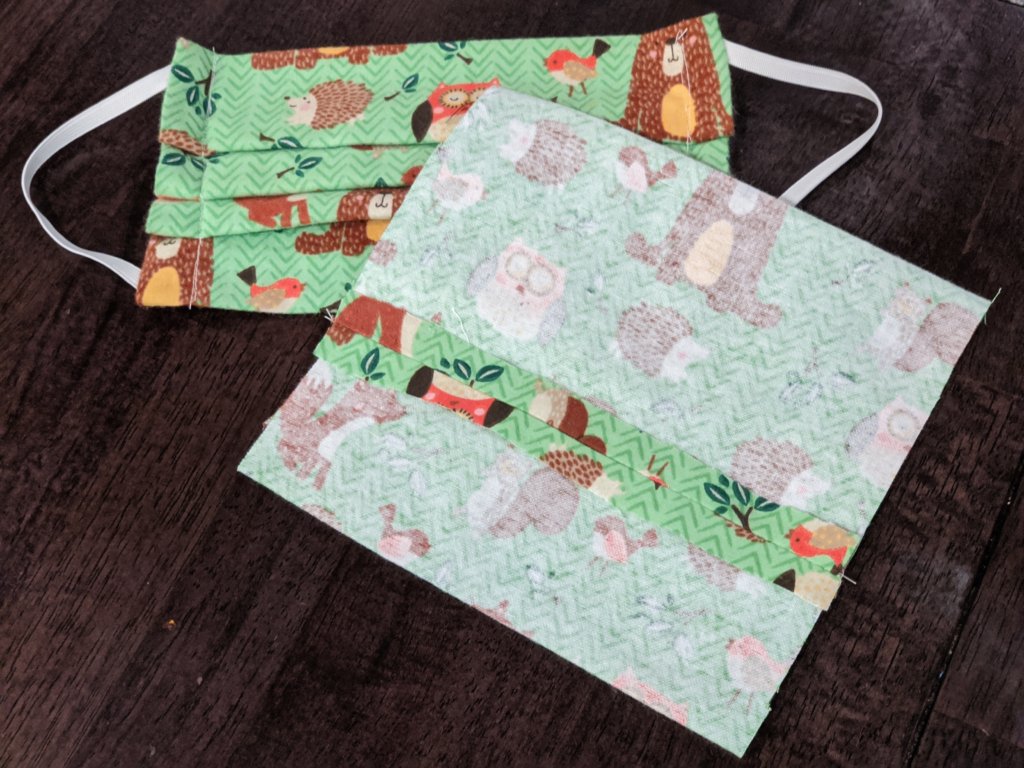
Sew the fabric together and then iron flat
Iron flat on the seam so that it is invisible. Note that you should iron it down a bit down from the center, since that is where one of the pleats will go, and you don’t want to have the seam there.
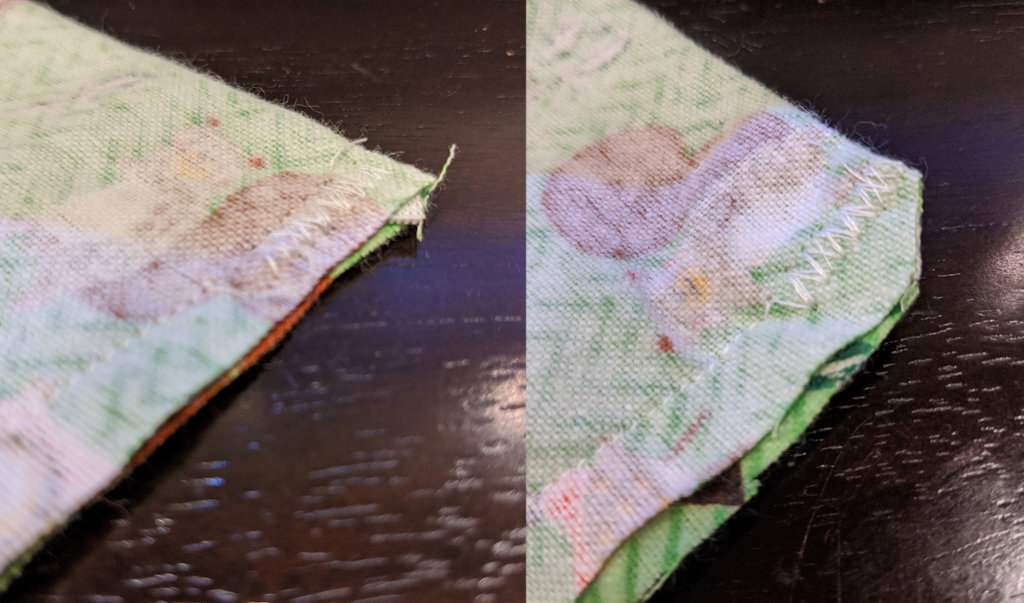
Angle elastic at 45 degrees, sew down and clip
The elastic is shorter than the mask itself, so you need to sew the elastic on the top two corners first and then come back and sew the other two corners. Use a zigzag stitch to make sure the elastic is secured well. Sew with straight stitch down to the middle, and then back-stitch to secure. Sew the other corner and then down the middle again. Pull the elastic to the other edge, and zigzag the corner again and straight stitch down the middle and back-stitch to secure.
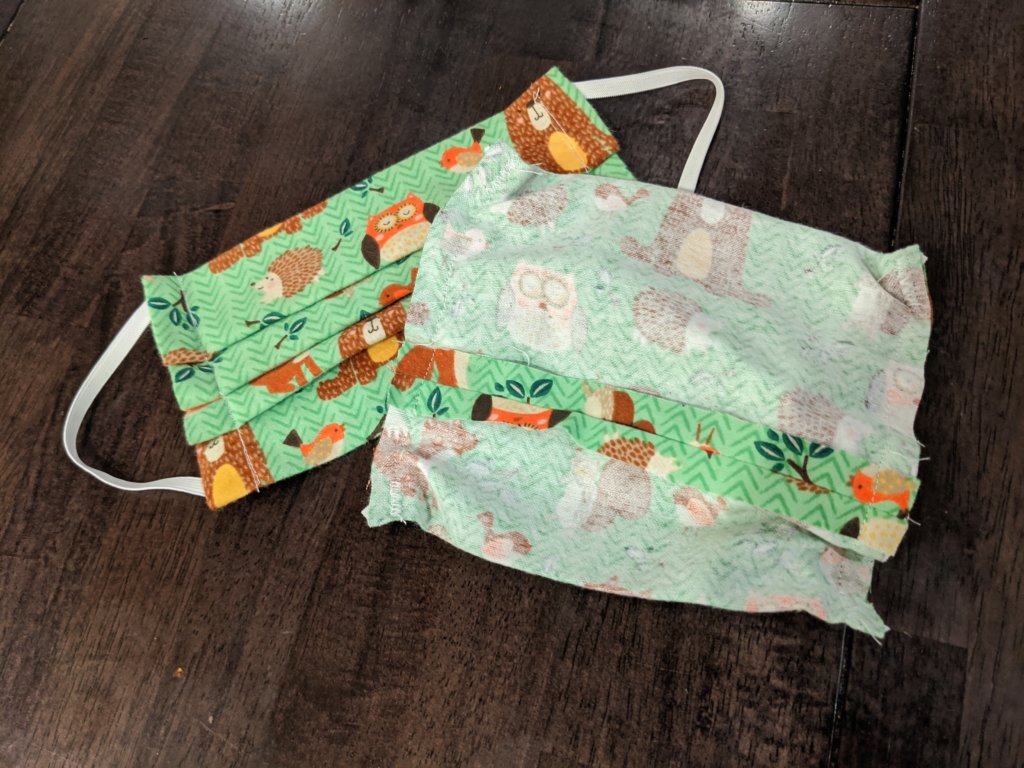
Sewn mask will be a bit wrinkled like this until you flip inside out
Flip inside out and then iron flat so that it is about a square mask.
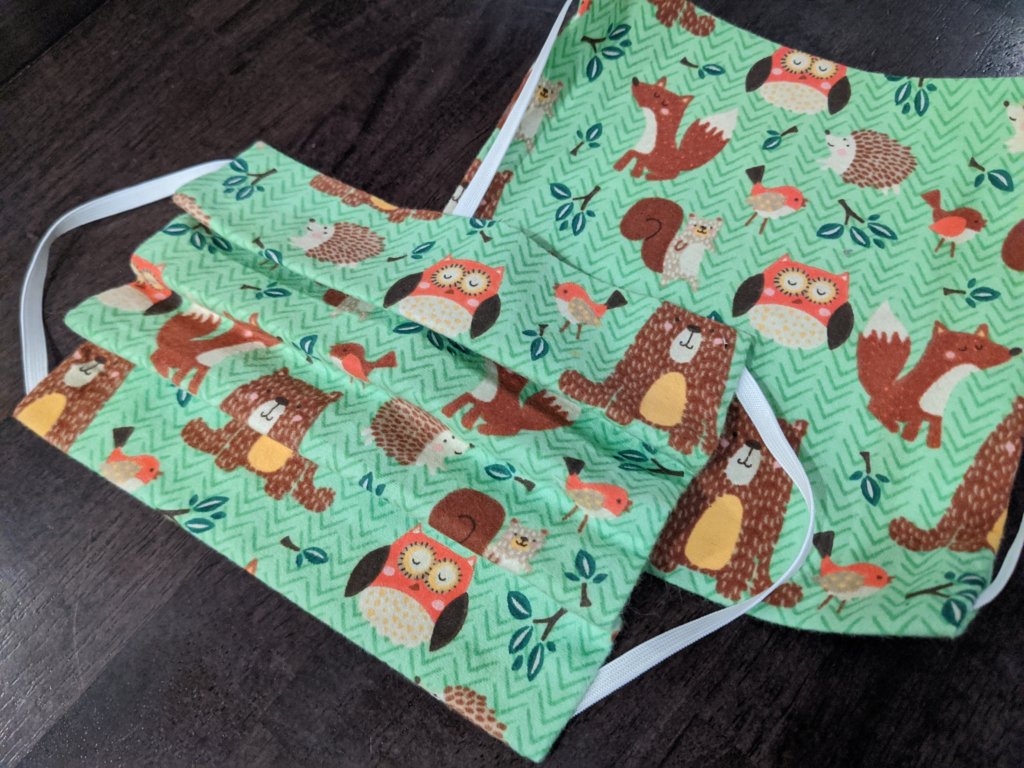
Iron flat and then make pleats
Pleat the mask three times. I found it most useful to fold the middle pleat first and then fold top and bottom and iron it down. Pin down to hold it in place. Note that if you have patterns that need to be face up, fold the pleats downward so that particles are not trapped in the folds.
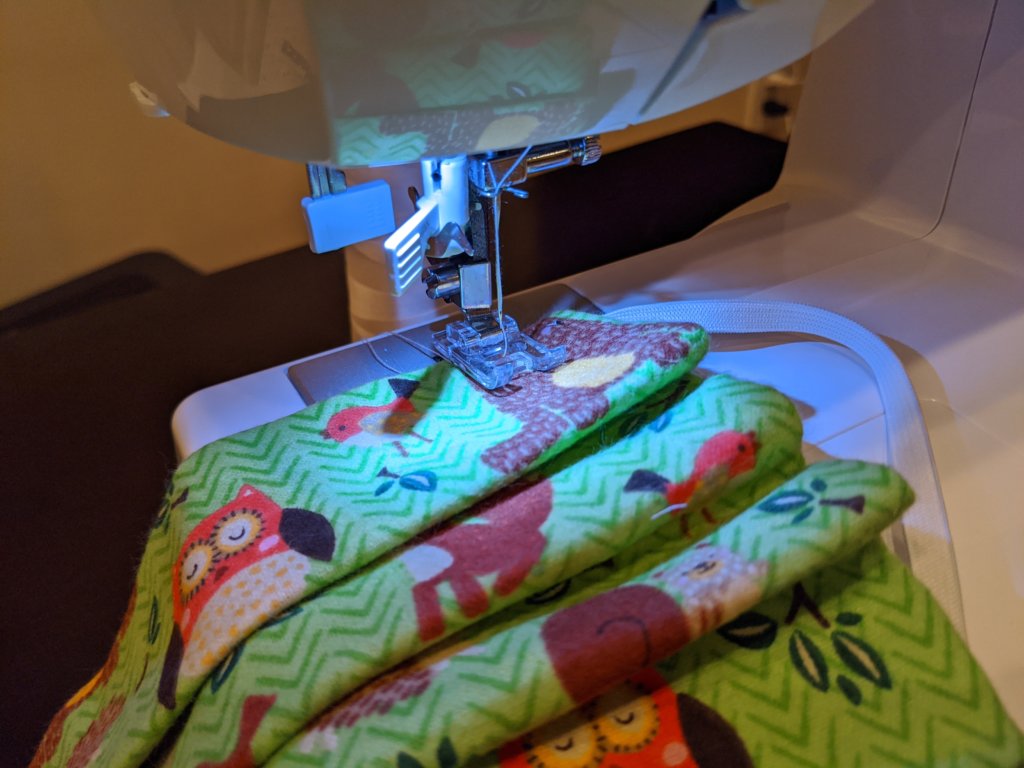
Sew a straight stitch across the two edges
Sew down the pleats with two straight stitches about 3/4″ in. Note that it needs to be further in because the thickness of the fabric can cause your machine to seize or break your needle (which happened to me).
Sewing twice on each side makes sure that they are secure.
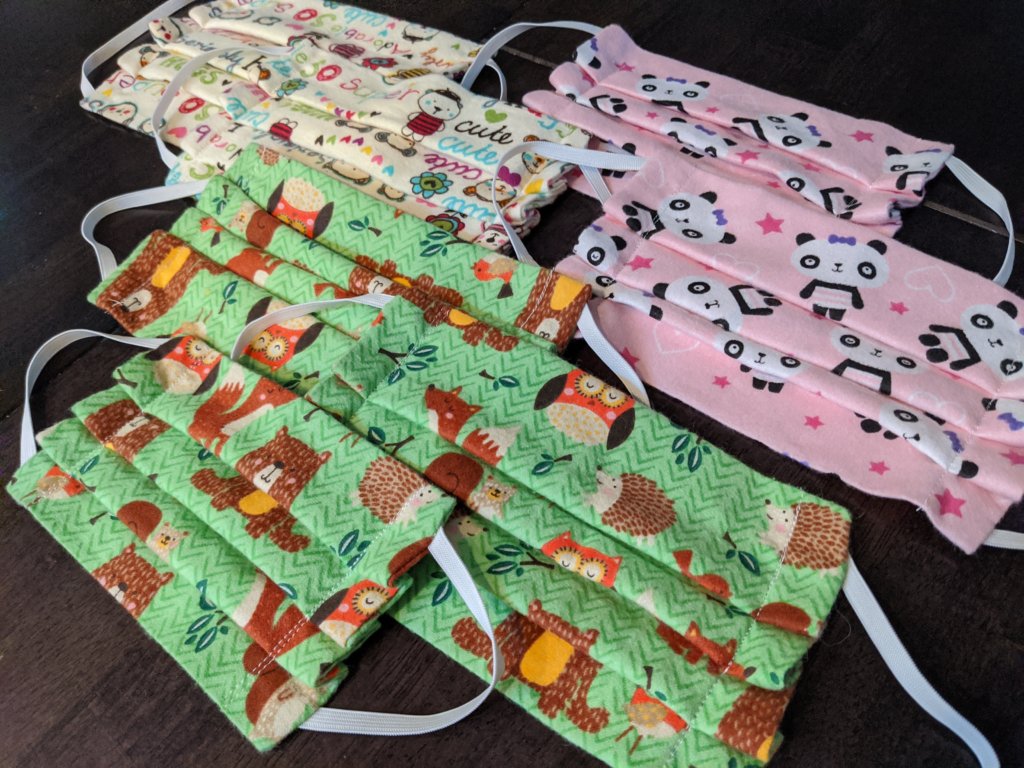
Coronavirus masks can be made in just 20 min
Cleaning Your Masks
These masks can be cleaned by just throwing the mask into the washer and dryer with your regular clothes. If you are in a rush, some scientists suggest that heating the mask to 158 degrees F may also be sufficient to kill the virus. I tested putting these masks in the oven at 200 degrees F for 30 mins a piece and there was no damage.

